SOLVED UNDER 20 MINUTES : If you’ve ever tried to speed up your WordPress website, you’ve probably heard of browser caching. But what does it actually mean, and how can you use it to your advantage?
In this guide, we’ll explore how to leverage browser caching in WordPress using .htaccess. Don’t worry—whether you’re a beginner or more experienced, we’ll break everything down into simple steps.
We’ll even use some real-world analogies and anecdotes to make it engaging and easy to understand.
By the end of this article, you’ll not only know how to speed up your WordPress site but also understand why browser caching is such an essential tool for improving user experience.

What is Browser Caching?
Imagine you’re a regular at your local coffee shop. Every time you visit, the barista remembers your order and has it ready before you even ask. This saves you time and creates a better experience. Browser caching is similar. Instead of making your website visitors download every element of your website every time they visit, their browser “remembers” parts of it, so the site loads much faster.
Every time someone visits your site, elements like images, stylesheets, and scripts are downloaded from your server to their browser. With browser caching, you can tell their browser to “keep” these elements for a set period of time. This reduces load time and improves the overall performance of your website.
Why is Browser Caching Important?
Speed matters. Let’s be honest: no one likes waiting. Studies show that if a page takes more than 3 seconds to load, a significant percentage of users will abandon it. That’s a lot of potential lost customers!
Not only does speed affect user experience, but it also impacts SEO (Search Engine Optimization). Google and other search engines prioritize faster websites, meaning a quicker site can rank higher in search results.
When you use browser caching, you reduce the load on your server and deliver faster pages to your users. It’s a win-win.
What is .htaccess?
Now, you may be wondering, what’s .htaccess? Simply put, .htaccess is a configuration file for servers running Apache (which powers many WordPress sites). It tells the server how to handle different requests and manage various settings, including browser caching.
In WordPress, you can modify this file to enable caching. Don’t worry if this sounds technical—we’ll walk you through it step by step.
How to Leverage Browser Caching in WordPress Using .htaccess
Let’s get practical! Here’s how you can set up browser caching on your WordPress site by editing the .htaccess file.
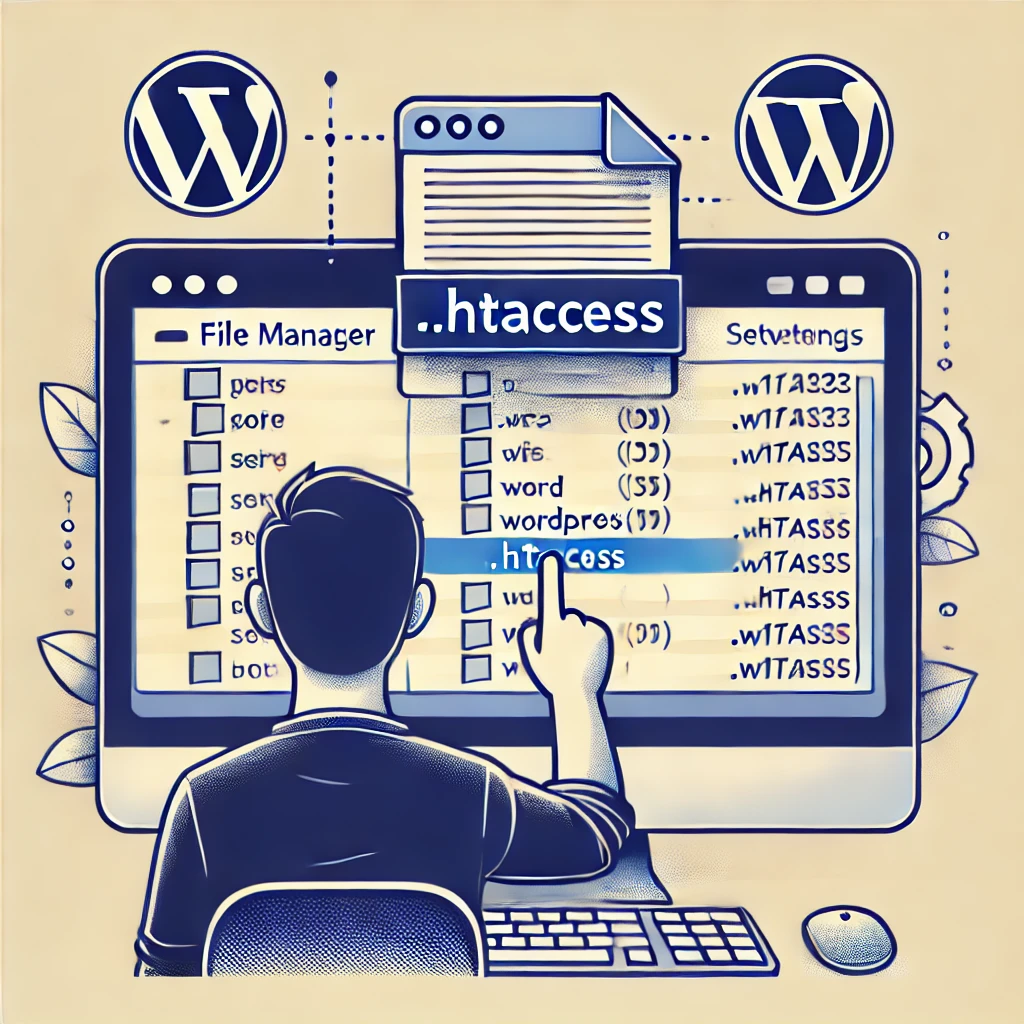
Step 1: Access Your .htaccess File
The .htaccess file is usually located in the root directory of your WordPress site. To find it:
- Log in to your website’s hosting control panel (such as cPanel or Plesk).
- Navigate to File Manager.
- Look for a file named .htaccess in the root folder (often under
public_html). - If you can’t find it, make sure you have enabled the option to view hidden files.
Step 2: Backup Your .htaccess File
Before you make any changes, it’s always a good idea to create a backup of your .htaccess file. This way, if something goes wrong, you can easily restore the original settings. Simply download the file to your local machine as a backup.
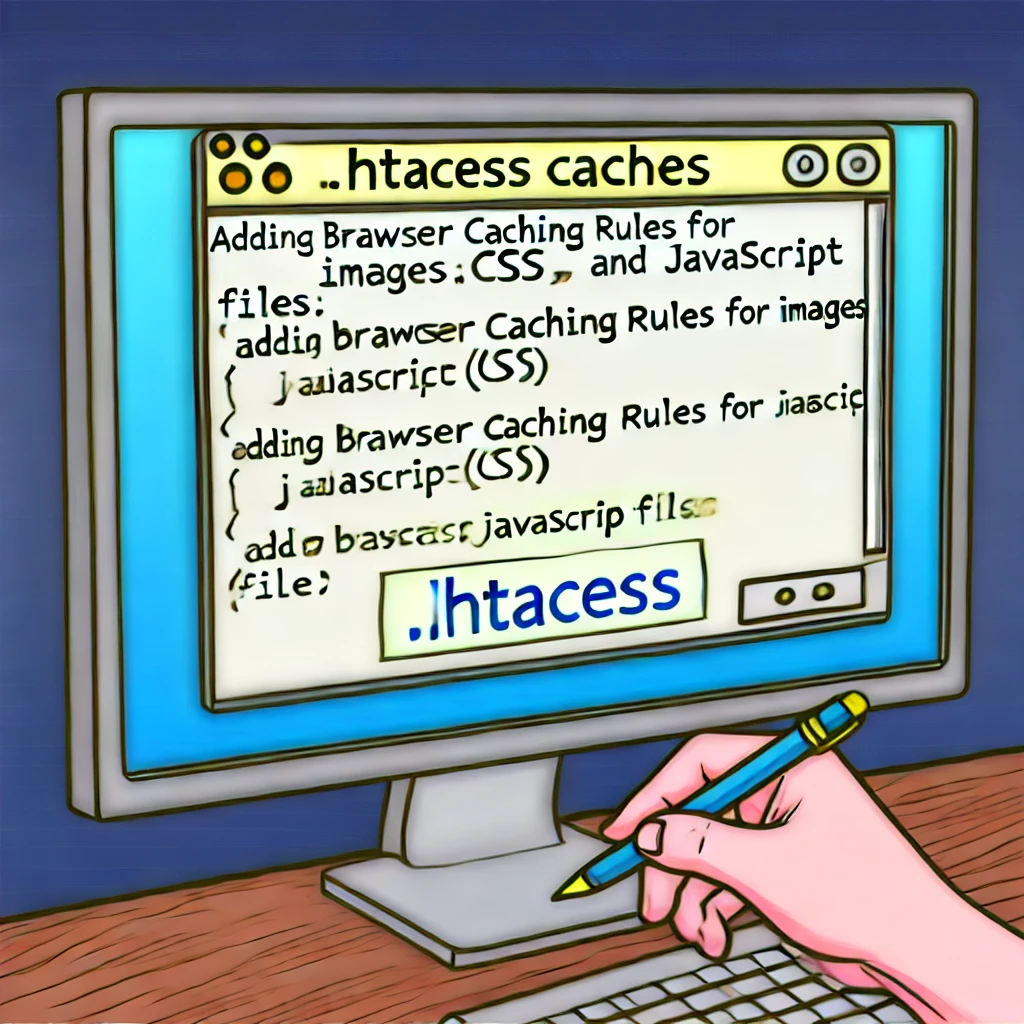
Step 3: Add Browser Caching Rules
Once you’ve accessed and backed up your .htaccess file, it’s time to add the caching rules. Here’s the code you need to copy and paste:
bashCopy code## EXPIRES CACHING ##
<IfModule mod_expires.c>
  ExpiresActive On
  ExpiresByType image/jpg "access plus 1 year"
  ExpiresByType image/jpeg "access plus 1 year"
  ExpiresByType image/gif "access plus 1 year"
  ExpiresByType image/png "access plus 1 year"
  ExpiresByType text/css "access plus 1 month"
  ExpiresByType application/pdf "access plus 1 month"
  ExpiresByType text/x-javascript "access plus 1 month"
  ExpiresByType application/x-shockwave-flash "access plus 1 month"
  ExpiresByType image/x-icon "access plus 1 year"
  ExpiresDefault "access plus 2 days"
</IfModule>
## EXPIRES CACHING ##
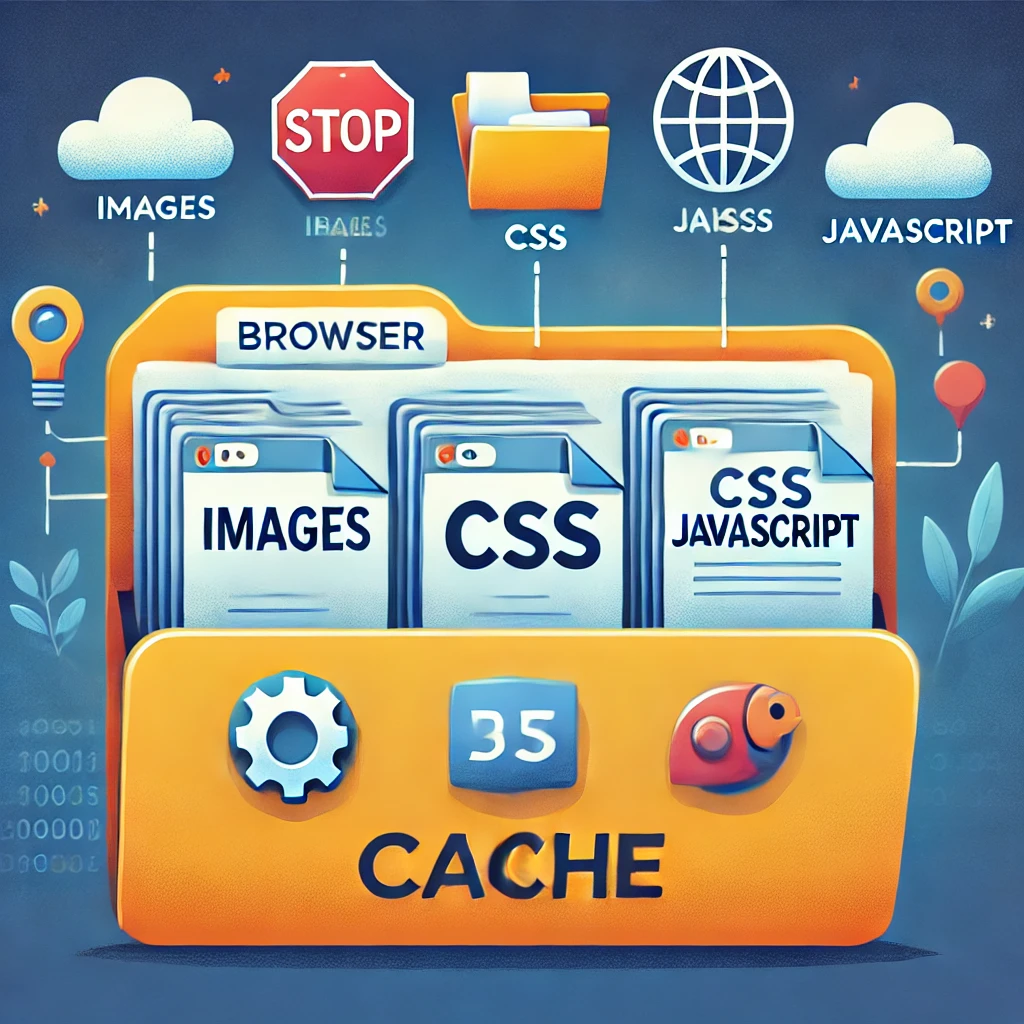
This code sets specific caching durations for different file types. For example:
- Images like
.jpgand.pngare cached for 1 year. - CSS files (used for styling your site) are cached for 1 month.
- JavaScript files are cached for 1 month.
By doing this, you’re telling the browser to keep these files for the specified amount of time. This means users won’t have to re-download these elements every time they visit your site, making the pages load faster.
Step 4: Save and Upload
After adding the code, save your changes and re-upload the .htaccess file to your server (if you downloaded it for editing). You can use an FTP client like FileZilla for this step.
Verifying Your Changes
Once you’ve edited the .htaccess file and added the caching rules, you’ll want to verify that everything is working properly. Here are a few ways to do that:
- Clear your browser’s cache and reload your website. You should notice a faster load time.
- Use tools like GTmetrix or Google PageSpeed Insights to test your site’s performance. These tools will tell you if browser caching is properly enabled.
- Check the developer tools in your browser (usually accessible by pressing F12). Under the “Network” tab, you should see that the static files (like images and CSS) are being cached.
Troubleshooting Common Issues
Although setting up browser caching is relatively simple, you might run into a few hiccups. Here are some common problems and how to solve them:
- Missing
.htaccessfile: If you can’t find the.htaccessfile, you might need to create one. Simply open a text editor, paste the necessary code, and upload the file to your WordPress root directory. - Cache not working: If the changes aren’t showing up, try clearing your WordPress cache plugin (if you’re using one), and make sure the browser cache is cleared.
Using Plugins to Simplify Browser Caching
If editing the .htaccess file sounds too technical or you’re looking for a simpler solution, there are plenty of WordPress caching plugins that can do the job for you. Some popular options include:
- WP Rocket: This premium plugin automatically adds caching rules to your
.htaccessfile and optimizes your site for speed. - W3 Total Cache: A free plugin that handles caching for your entire WordPress site.
- Autoptimize: Another free option that helps with caching, as well as minifying CSS and JavaScript files.
These plugins make it easy to enable browser caching without needing to touch any code.
Final Thoughts
Implementing browser caching in WordPress using .htaccess is one of the most effective ways to improve your site’s performance. By reducing load times, you’ll create a better experience for your visitors, improve your SEO, and potentially boost conversions.
Whether you choose to edit the .htaccess file manually or use a plugin, the benefits are undeniable. Faster load times can mean happier visitors and a better overall user experience. So, if you haven’t already, now is the time to make browser caching a priority for your website.
Ready to Get Started?
Now that you know how to leverage browser caching on your WordPress site, what are you waiting for? By implementing these caching rules, you’ll notice a significant improvement in your website’s speed and performance.
If you’re not comfortable editing the .htaccess file yourself, we recommend trying out WP Rocket—a highly effective plugin that takes care of caching for you. Get WP Rocket now and speed up your website today!
FAQ
1. What is .htaccess in WordPress?.htaccess is a configuration file used by Apache servers to control various settings, including browser caching, URL redirects, and security measures.
2. How does browser caching improve my website’s speed?
Browser caching stores static files like images, CSS, and JavaScript on a user’s device, reducing the need to download them on subsequent visits, which improves load time.
3. Is it safe to edit the .htaccess file?
Yes, but it’s important to back up your .htaccess file before making any changes. If you’re unsure, using a caching plugin can simplify the process.
4. How do I check if browser caching is working?
Use tools like GTmetrix or Google PageSpeed Insights to test your site’s performance. You can also check your browser’s developer tools to confirm files are being cached.